- Introduction
- Installing gvSIG in Linux
- Installing gvSIG in Windows
- Installing gvSIG. Common steps to Windows and Linux
Introduction
Note
This manual explains how to install gvSIG and its previous requirements in detail, that can change between version. For further information about the necessary requirements for a gvSIG version, please consult "Previous requirements" and "Install/uninstall instructions" sections for every gvSIG version
Actually you can access to the install packets from www.gvsig.org gvSIG has a series of requirements that must be installed for its correct working.
Installing gvSIG
You can currently access the installation packages in www.gvsig.org
gvSIG has a series of pre-requisites which must be installed for it to function correctly.
Installation requirements
A Java-compatible virtual machine (1.4.2.06 or superior virtual machine recommended).
JAI (Java Advanced Imaging) and JAI Image I/O library must be installed in the virtual machine.
N.B.: If this is the first time you have installed gvSIG, you will find an executable file which includes these pre-requisites in the following “installation options”.
Installation options
gvSIG offers four installation options depending on whether you use the Windows or Linux operating system, and on whether you want to install gvSIG from a file which contains the installation pre-requisites.
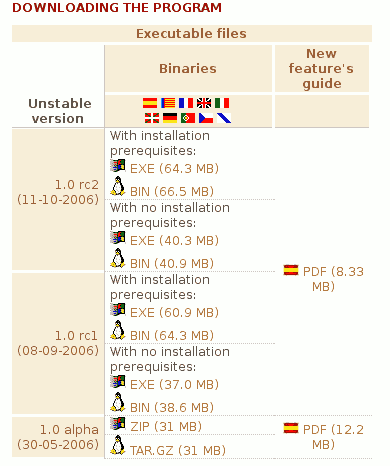
If you are installing gvSIG on your computer for the first time or you are not sure whether your computer is Java-compatible, we recommend downloading the executable file with the necessary installation pre-requisites. However, if you have installed and worked with gvSIG on a previous occasion or if you have a Java-compatible virtual machine and the libraries are installed, you should download the installation file without the pre-requisites.
Therefore,
- If you use Windows, you must install an .exe file.

- If you use Linux, you must install a .bin file (Check that you have permission to execute the file once it has been downloaded).

- If the pre-requisites are not already installed or you are installing gvSIG for the first time, install the “With installation pre-requisites” file.
- If you have installed gvSIG on a previous occasion or the pre-requisites are already installed, install “Without installation pre-requisites”.
Installing gvSIG in Linux
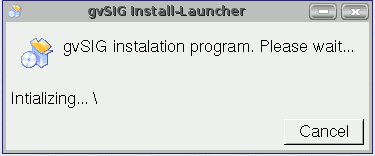
Run the .bin file (remember that you need to give execution permission to the file. Generally you can do that by right-clicking on the .bin file and checking "is executable" or by using the "chmod" command in a terminal window).
When the installation process starts, the following window will appear:
Then the first installation window will appear from which you can choose between several options. When you select an option, the installation programme checks that the chosen virtual machine is valid. If it is not valid, an error message appears and you will be able to choose a different installation option.
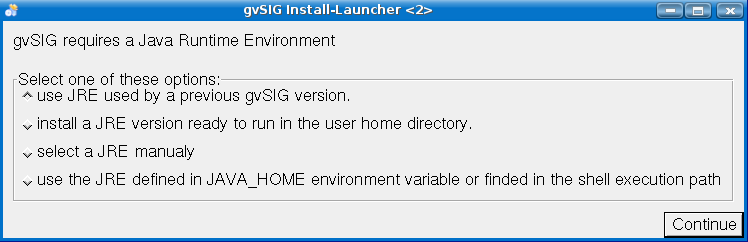
- Use a JRE used by a previous gvSIG version. (Recommended if you have installed gvSIG on a previous occasion).
This option will only be enabled if there is a Java-compatible machine in your system.
- Install a JRE ready to run in the user’s home directory. (Recommended if you are installing gvSIG for the first time).
If you select this option and there is no Java-compatible machine available in the system, the following message will appear:
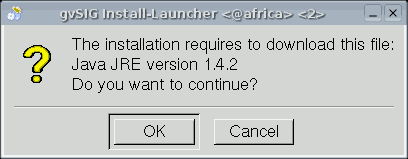
- If you click on “OK” the pre-requisites will be installed in the user’s home directory in the “gvSIG/jre/1.4.2_10/” folder.
If you are installing gvSIG from the executable file with the installation pre-requisites, these will be installed directly from the executable file. However, if you are installing gvSIG from another installation programme, the programme will try to download a virtual machine with the libraries from the Internet. If it cannot download the virtual machine, an error message will appear and you will be able to choose a different installation option.
4. Select a JRE manually. (Advanced) This option allows you to manually choose a virtual machine to be used by gvSIG.
- Use the JRE defined in the JAVA HOME environment or found in the shell execution path. (Advanced)
This tells the installation programme to use the virtual machine shell execution path defined in the JAVA HOME or in the path.
When you have decided which option to use, click on “Continue”.
Installing gvSIG in Windows
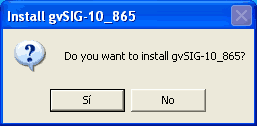
Run the .exe file. The first window that appears asks you whether you wish to install gvSIG, click on “Yes”. The component installation is prepared.
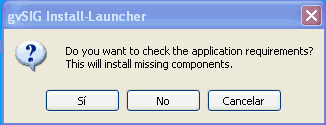
The following window allows you to check whether the application requirements are available, if you click on “Yes”, the installation programme will search for the application requirements in the system and will try to install the missing components. If you click on “No” you will have to manually define the virtual machine to be used.
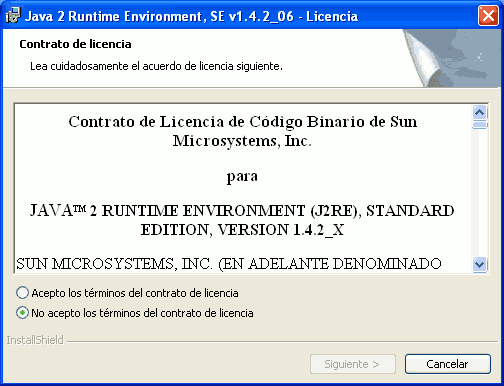
Installing the Java virtual machine
If the installation programme detects that there is no virtual machine compatible with gvSIG, it will try to install it from the installation programme or download it from the Internet.
Accept the Sun licence terms if you agree and click on “Next”.
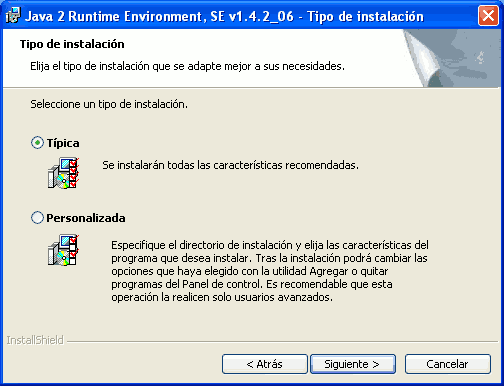
Select the “Typical” installation mode (recommended) or “Custom” mode and click on “Next”. When the installation has finished, click on “Finish”.
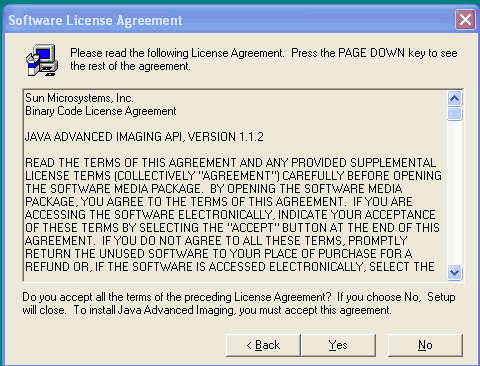
Installing Java Advanced Imaging

Click on “Next” and accept the licence.
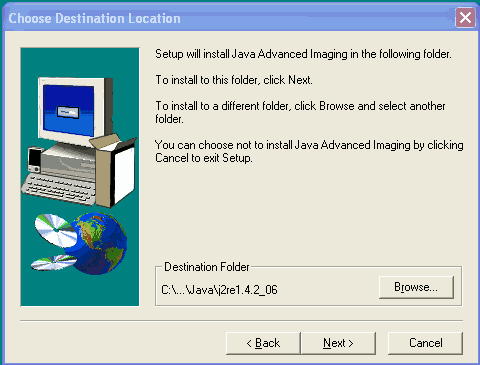
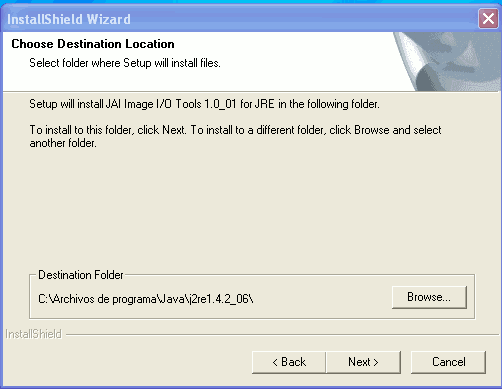
Select the location you wish to install the library in (default option recommended) and click on “Next”.
Installing Java Advanced Imaging I/O
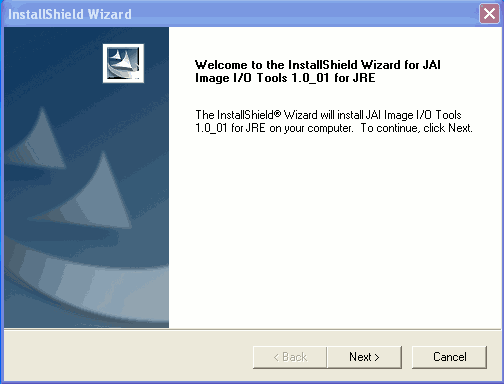
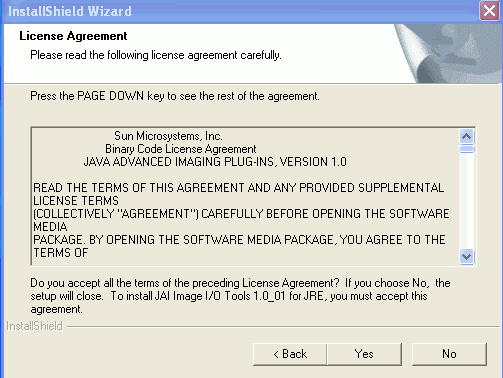
Click on “Next” and accept the licence.
Select the location you wish to install the library in (default option recommended), click on “Next”.
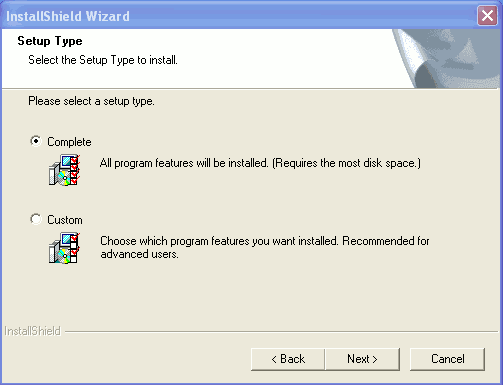
Select the “Complete” installation mode (recommended) or “Custom” mode, then click on “Next”.
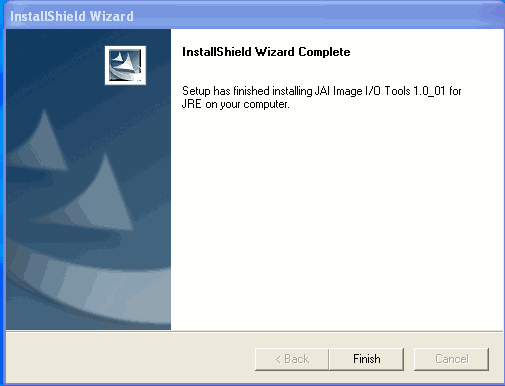
Click on “Finish”.
Installing gvSIG. Common steps to Windows and Linux
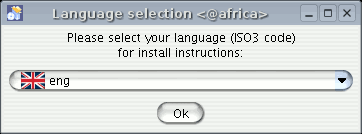
When the pre-requisites have been installed, a new window will appear in which you can select the language you wish the installation instructions to be shown in.
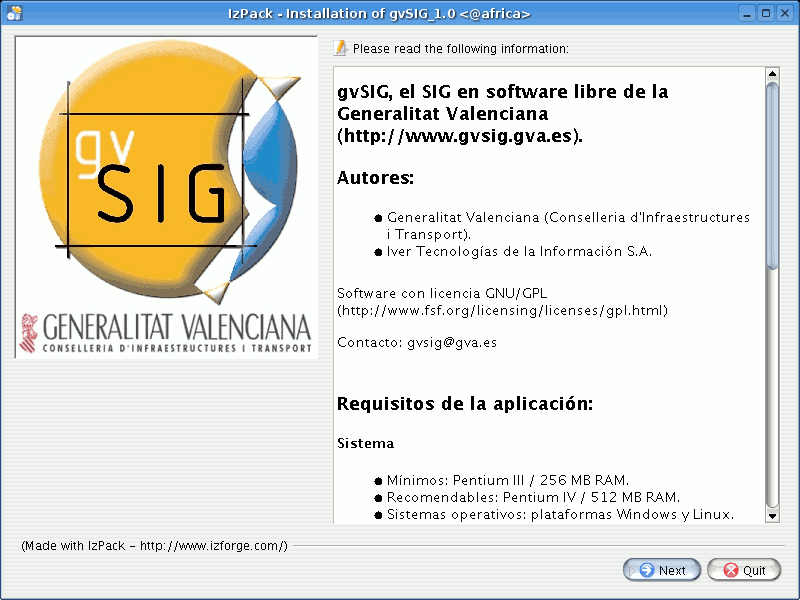
An introductory window then appears. Read the information and click on “Next” to continue.
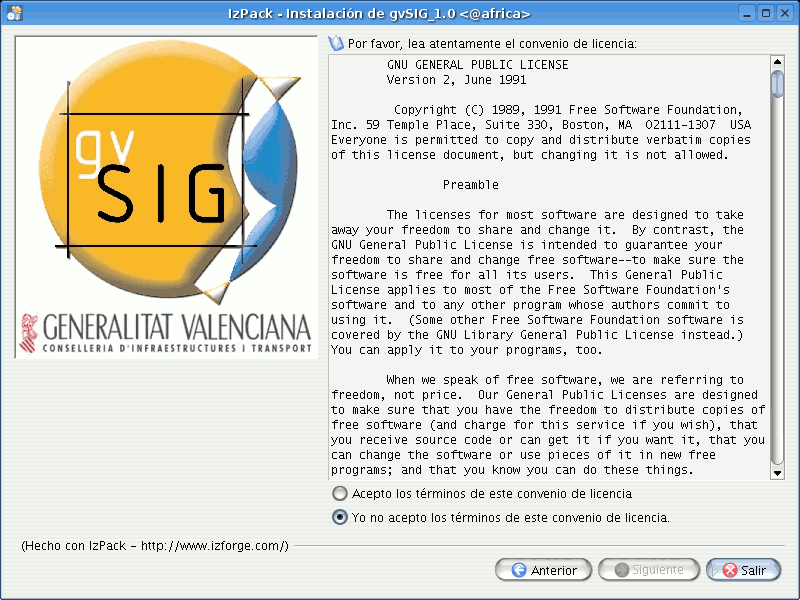
Read the gvSIG licence carefully and select “I accept the licence terms” if you agree with them. Click on “Next” to continue.
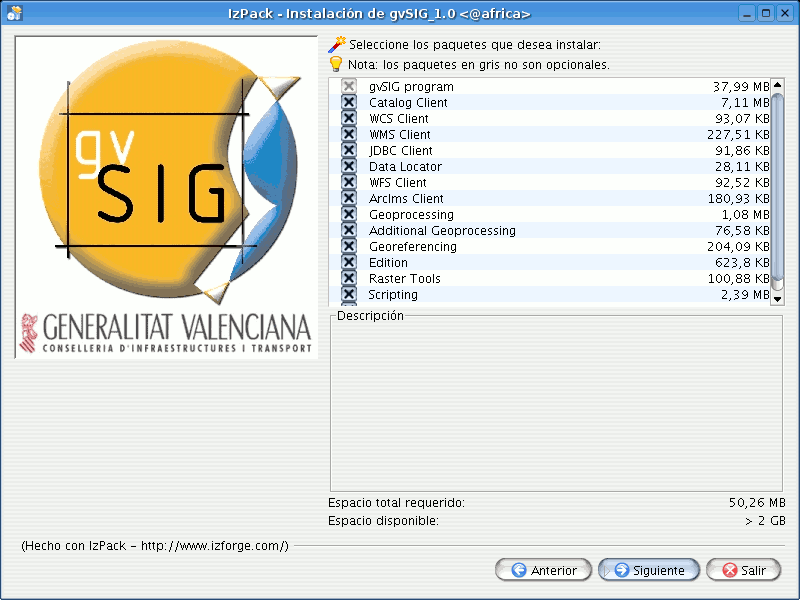
Select the gvSIG extensions you wish to install and click on “Next”. Remember that greyed out packs are required.
Select the directory you wish to install gvSIG in and click on “Next”.
A default directory appears in the window. If you wish to change it, click on “Browse” and find the new directory you wish to install gvSIG in.

If the directory already exists the following window will appear:

If you decide to look for another directory, click on “No” and return to the “Browse” button.
If the directory does not exist, another window will appear:
Click on “Ok” if you wish to create the directory.
If you click on “Next” the installation will start.
A window will then appear with the installation progress.
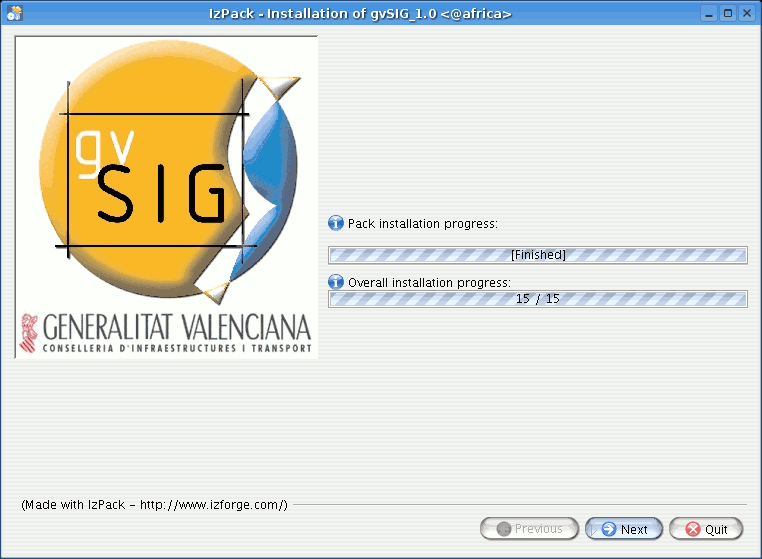
When the installation has finished, click on "Next". A window will appear to indicate where to create the shortcuts to gvSIG.
(If you do not modify the default options, a shortcut to gvSIG will be created in the Start menu and another will be created on the desktop).
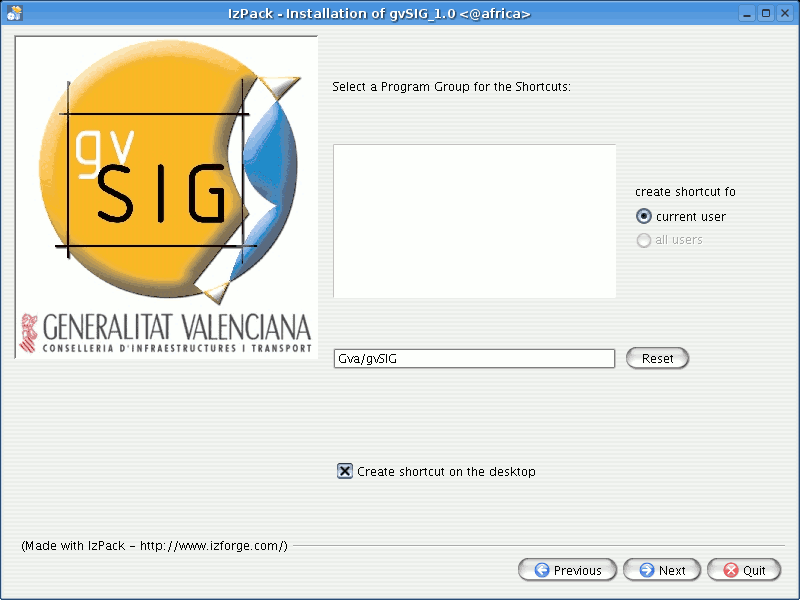
If you click on “Next” the following window will appear.

