Quick gvSIG Mobile Install
The present chapter explains how to install gvSIG Mobile.
gvSIG Mobile Requires a Java Virtual Machine (VM) to run. gvSIG Mobile have been tested on IBM's J9 and SUN's PhoneME Advanced.
There are three different installers:
- gvSIG Mobile with PhoneMe included. Includes gvSIG Mobile and PhoneME VM. It's the easiest and quickest option.
- gvSIG Mobile J9 compatible. gvSIG Mobile version for J9 VM.
- gvSIG Mobile PhoneMe compatible. gvSIG Mobile version for PhoneME VM.
If you want to use an installer without included VM, you will have to install it separately.
NOTE:
- If installed VM and gvSIG Mobile installer don't match, strange behaviours may happen.
gvSIG Mobile with included SUN PhoneMe Java Virtual Machine Quick Install
First Step: Copy installer to the PDA Device
Next, the new downloaded installer must be copied to the PDA memory. There is different ways to do that depending on the OS. On the following pictures the installation it's done from Windows XP with ActiveSync 4.5 and WM 5.
Second Step: Install gvSIG Mobile into PDA
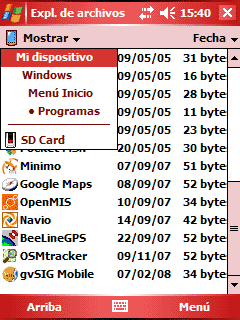
To start the installation, use the PDA File Explorer and navigate to the place where the gvSIG_Mobile_with_PhoneMe.BNxx.Arm.CAB installer was copied. Now click on it.
In there is a secondary storage (SD expansion memory, etc..), the installation process ask if we want to install it on the Device, or the secondary memory. You can choose both but installation on the PDA root is recommended.
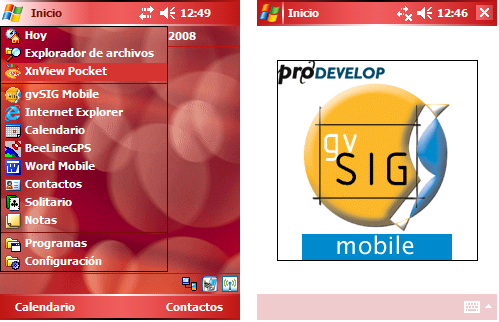
gvSIG Mobile and PhoneMe will be installed and a new gvSIG Mobile link will be created on the programs menu.

gvSIG Mobile Init.
Now just tab on gvSIG Mobile.exe to run the application

Start gvSIG Mobile.
There is a log file that logs the launch process and shows the potential errors. This file is in the installation folder and is named gvsig_mobile_launch.log.


