gvSIG-Desktop 1.9. User manual
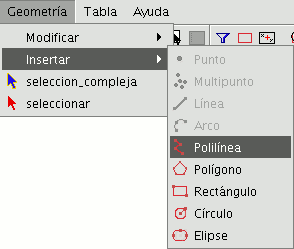
This feature can be a set of arcs and/or segments combined by the user. You can draw a polyline by selecting the tool from the edition tool bar and clicking on the “Polyline” button

or by going to the “Geometry” menu bar then to “Insert” and “Polyline”.

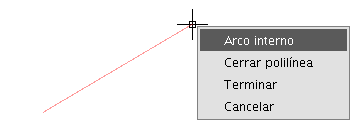
The polyline allows you to insert straight lines in the graphic area, but these differ from standard lines in that they allow you to insert an arc from the last vertex, to which it will always be located at a tangent, and end the polyline thus creating a polygon. Click on the graphic area in the place you wish the first point of the polyline to be located and insert the following points by left clicking on the mouse in the places you wish to locate them. If you wish to draw an arc, right click on the mouse and select the “Internal arc” option in the contextual menu.

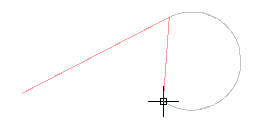
When this option has been selected, gvSIG shows a projection of an arc from the last inserted vertex to the mouse pointer.

If you wish to insert more lines, go back to the contextual menu and select the “Internal line” option.
If you wish to close the figure so that a straight line is drawn from the last inserted point to the first point, select the “Close polyline” option.
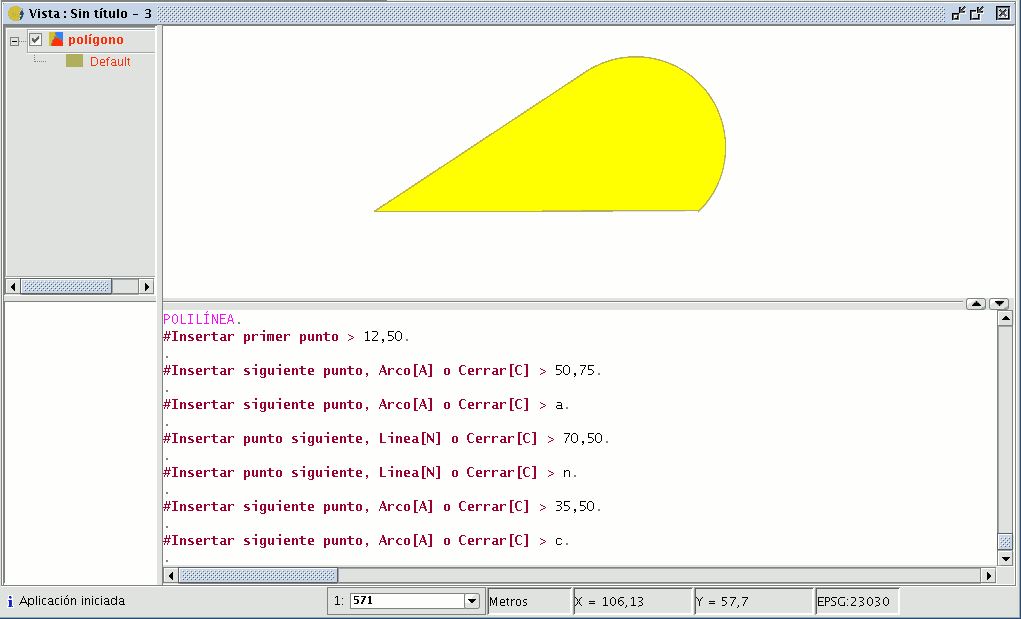
To draw a polyline from the command console, write the command “polyline”. Input the coordinates of the source point. Then you can insert the second point or input one of the parameters to draw an arc “A”, or close the polyline “C”. When you have selected the arc option, you can draw more straight lines using the parameter “N”. The following image shows how the polyline draws a straight line from the arc's last vertex to the source, thus creating a closed figure after inputting the parameter “C”.


