


Document Actions
gvSIG-Desktop 1.9. User manual
Manual usuario gvSIG-1.9 - Visualización y acceso a datos - Loading data - Geografic data - Raster - Adding a layer using raster ArcIMS protocol - Adding a layer using ArcIMS protocol - Adding the layer to the view
When the “Ok” button in the dialogue box is pressed, a new layer appears in the view (fig. 5). If no layer has been added previously, the extension of the ArcIMS layer is shown, as per the standard gvSIG procedure.
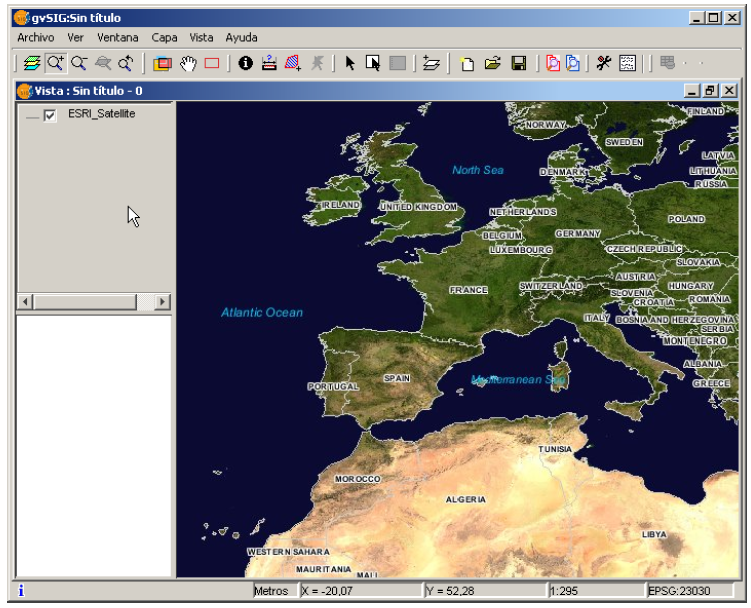
Figure 5: ArcIMS layer added to the gvSIG view.
It must be remembered that when the layer extension is shown, the layers that make up the chosen configuration may not appear and a blank or transparent image appears instead. If this occurs, use the scale control dialogue box (V. Information about scale limits section).
Cached time 11/21/13 07:17:36 


