Manual de usuario gvSIG 1.9
If we want to translate the gvSIG interface to a new language we could ask the application to export a file with all the identifiers of the text chains to translate.
For that we first select a reference language, choosing the row corresponding to the selected language from the table. Like in the language updating option, besides the selected reference language we need to include the Spanish and English languages as well.
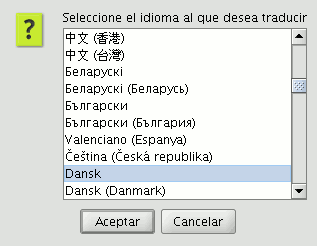
Next there will be a dialog that will allow us to select the new language we would like to translate to. Those languages appear in their native language to facilitate identification.

Select new language to translate
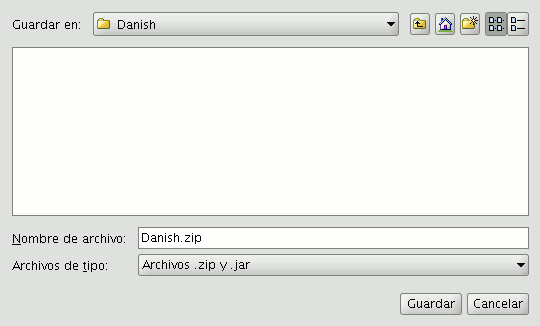
Once the language is selected, there will be a dialog asking where we would like to save the generated ZIP file.

Saving the generated ZIP file
The above mentioned ZIP file has the same content as in the language updating case. The difference is in the .properties file of the language we are going to translate to, that in this case contains all the identifiers but empty.
In the previous figures, for example we are going to translate to the Danish language. Therefore, we need to edit the text_da.properties file. The contents of it should be something like:
searchButton=
enter_layer_name=
inside_circle=
ascending_order_tooltip=
time=
wfsLoad=
shp=
infocrs=
A2=
lowerCoordinates=
results=
discard_changes=
...
By opening the .properties file of one of the reference languages we could see the text that corresponds to each of the labels and thus proceed with the translation.
Once the translation is finished, we can recreate again the ZIP file with all the content and proceed to load the new language through the Instalar un idioma option. If we want to visualize the text in that language we would need to mark it as the active language and restart gvSIG.


