Personal tools
You are here: Home gvSIG Projects gvSIG Desktop Documentation User documentation gvSIG-Desktop 1.10. User Manual (online)
gvSIG Desktop
gvSIG Desktop
Description
Features
Characteristics
Tour
Downloads official vers.
Upgrade language
Documentation
User documentation
Developers documentation
Downloads development vers.
Distribution lists
Other distributions
FAQs

Cached time 11/21/13 15:18:27 Clear cache and reload

 
Document Actions

gvSIG-Desktop 1.10. User Manual

by Victor Acevedo last modified 2011-09-13 17:10

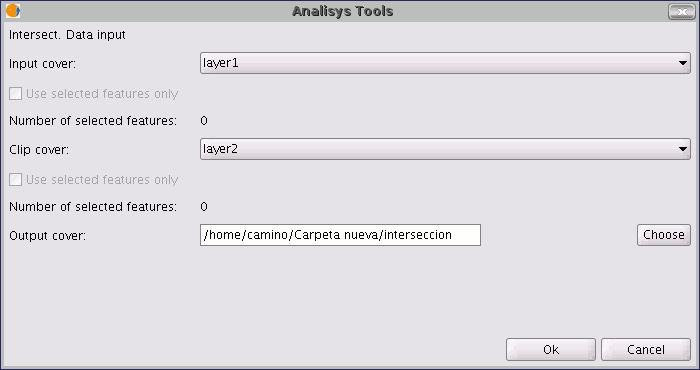
After selecting the "Intersection" geoprocess, the following dialogue appears:
interseccion-en.img/introdcuccionDatosInterseccionNuevo_en.png

Select the input layer and the overlay layer. You must also specify a file in which to save the results. Finally, click on "Ok" and the geoprocess will be run.
interseccion.img/antesInterseccion_es.png

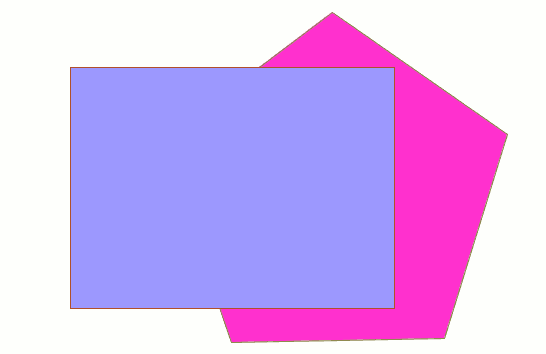
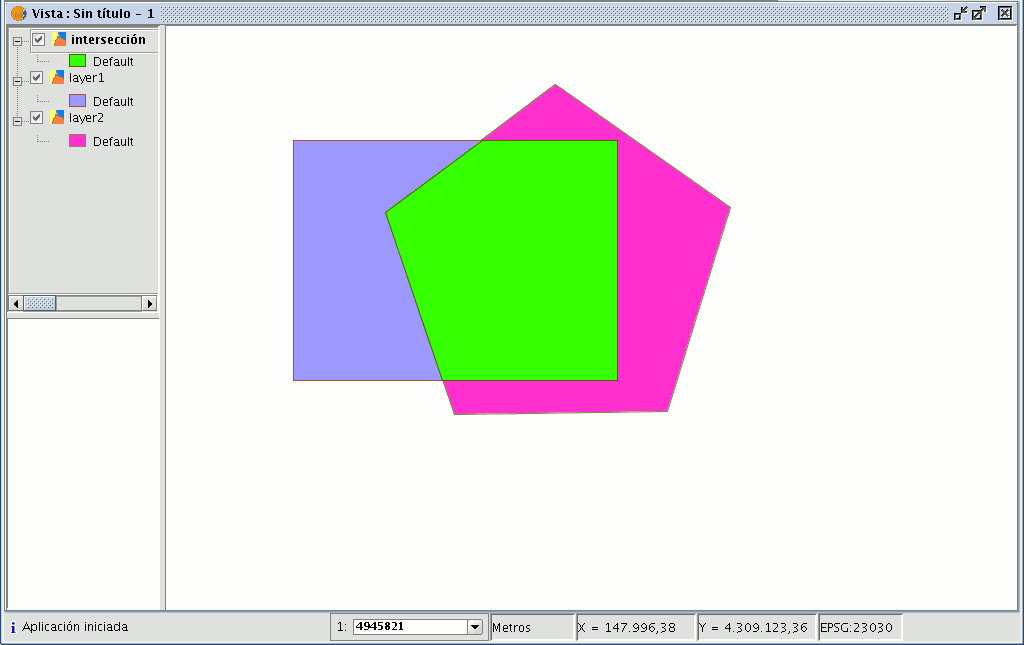
In this case, we will use a very simple example to better understand the function of the geoprocess. The previous figure shows two overlaying polygons. The result of launching the “Intersection” geoprocess with these layers as parameters is as follows:
interseccion.img/despuesInterseccion_es.png

Cached time 11/21/13 07:10:02 Clear cache and reload

Get freemind document

View source document Get permanent link


Powered by Plone CMS, the Open Source Content Management System

This site conforms to the following standards: