gvSIG-Desktop 1.11. User manual
This tool allows you to go through the vertices of the selected objects easily and carry out other actions, such as adding a new vertex or deleting the vertex which is being edited.
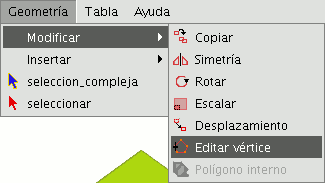
To access this tool, click on the “Edit vertex” button in the tool bar.

You can also access the tool by going to the “Geometry” menu bar then to “Modify” and “Edit vertex”.

To edit the vertices of a figure, select the figure and click on the “Edit vertex” button in the tool bar.
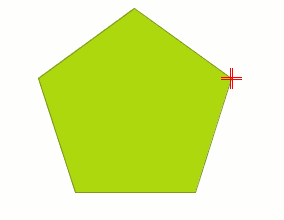
A red pointer appears in one of the vertices of the figure you are editing.

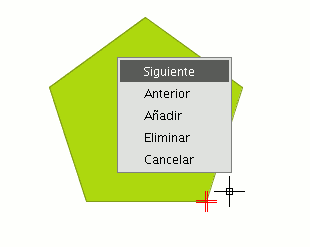
If you right click on the mouse, a menu will appear from which you can select the actions you wish to carry out.
If you click on the “Next” option, the cursor will move to the next vertex of the selected object.

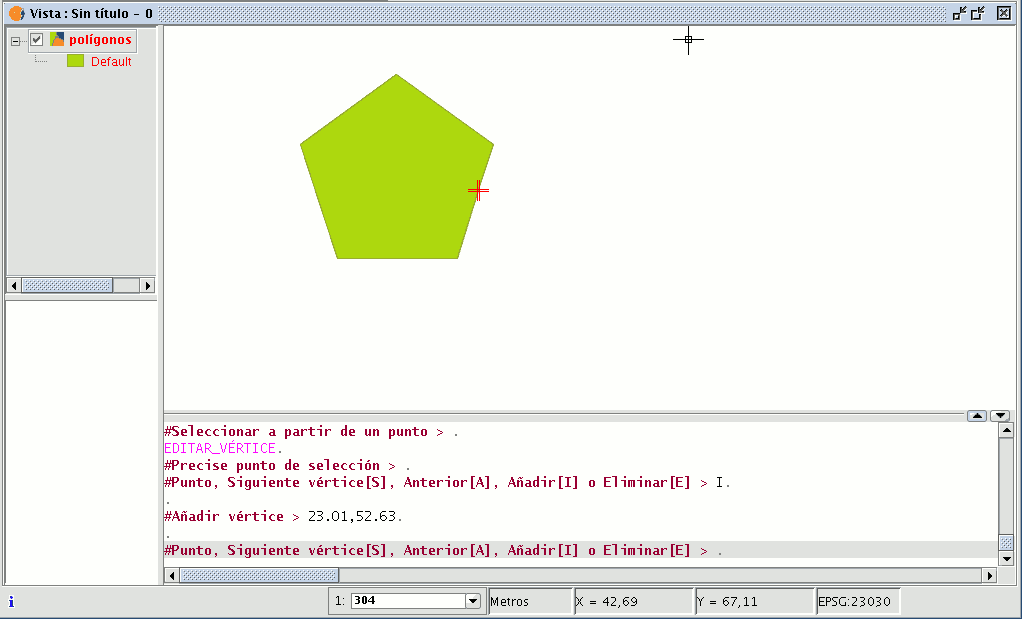
You can also access this tool from the command console. To do so, write the command: EDIT VERTEX.
If, for example, you wish to go through the vertices of an element, write the command and input the parameter “S” (next).
To go to the previous vertex, write the parameter “A”.
To delete a vertex write the parameter “E” and press “Enter”.
To add (insert) a vertex, write the parameter “I” and press “Enter”.
The X and Y coordinates of the new vertex will then be requested (remember that these coordinates should belong to the polygon perimeter).
Input the data in the console and press “Enter”.
A new vertex will be created in the figure.


