


Document Actions
gvSIG-Desktop 1.11. User manual
If you wish to add an orthophoto to gvSIG using the ECWP protocol, first open a view and click on the “Add layer” button.

Click on the “Add” button in the dialogue box. A file browser window appears.
Choose the “gvSIG Image Driver” option from the “Files of type” pull-down menu.
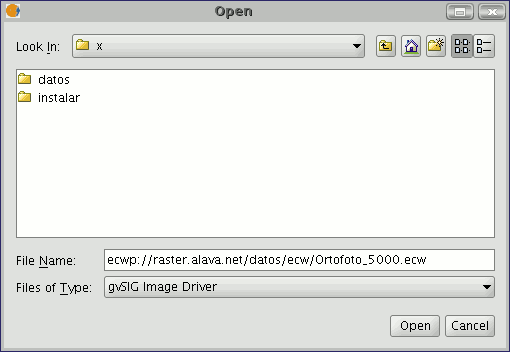
Write the URL of the file you wish to load as follows in “File name”:
ecwp://server address/path of the file you wish to add.
For example:
ecwp://raster.alava.net/datos/ecw/Ortofoto_5000.ecw
ecwp://earthetc.com/images/geodetic/world/MOD09A1.interpol.cyl.retouched.topo.bathymetry.ecw
When you have input the data, click on “Open”.
The orthophoto will be added to the layer list.
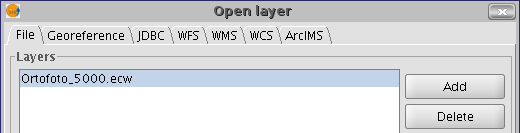
Select the new added layer and click on “Ok”.
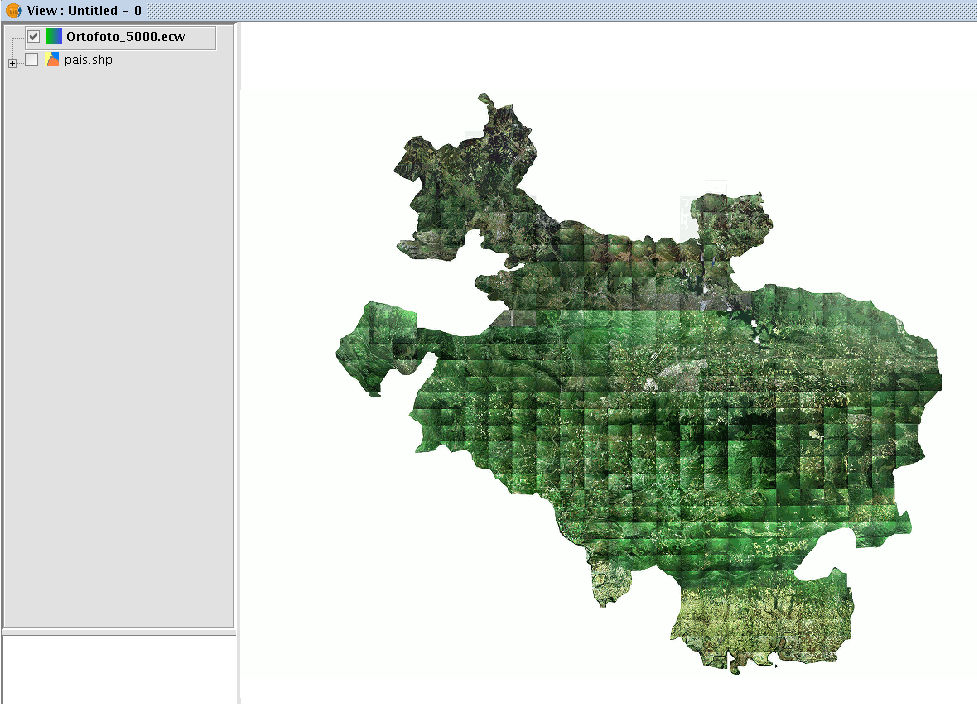
The image will be added to the view.
Cached time 11/21/13 06:54:11 


