gvSIG-Desktop 1.11. User manual
“Field calculator” Let us look at a simple example to explain how the field calculator works.
In order to work out the area of a series of plots in a layer we have created:
First, open a gvSIG view and load an orthophoto which will be used as a base to determine the location of the plots. Next, select the tool in order to create a new shp file (View/New layer/SHP).
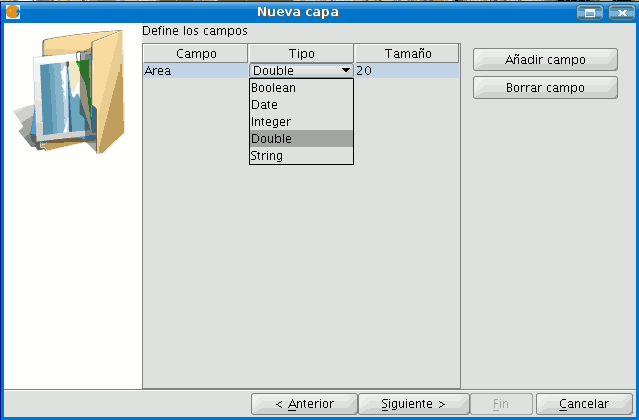
Select a “Polygon” type layer, click on the “Next” option and then create a “Double” type field called “Area”, leaving the default value at 20.

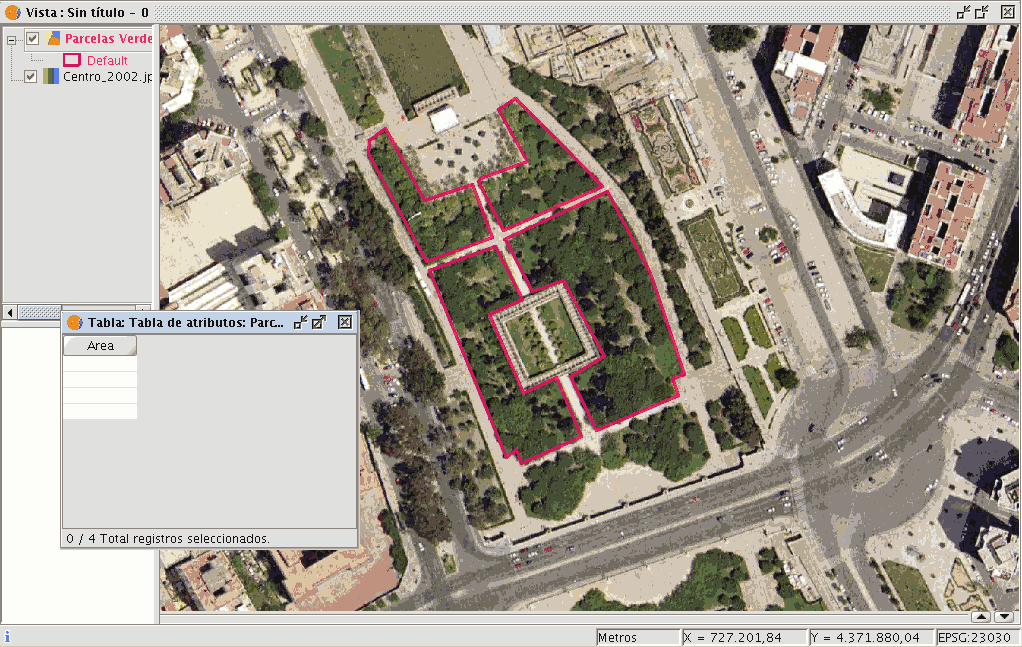
Draw four plots on the orthophoto using the “Insert polyline” tool selected from the tool bar. The image below shows that a record for each of the plots has been created in the table.

Select the field from the table and activate the field calculator.


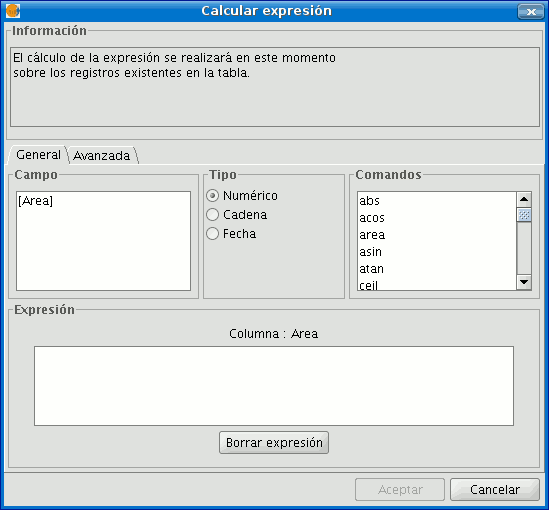
The following information appears in the “General” tab:

“Field”. This contains the various different fields which comprise the table being worked on.
“Type” of field selected. Access to different commands depends on the type of field.
“Commands” which can be used in the calculations.
The “Information” section shows that:
If the “area” command has been selected in the “General” tab, a brief description will be displayed in the information window.

If the “area” command has been selected in the “General” tab, the information window returns a message with information on the field type (remember that when designing the “area” shape, a Double type numeric field was created in which the area will be calculated).

The “Expression" area displays the name of the column on which the calculation is being performed and a text box for the calculation sentence to be used.

In this case, the sentence included in the expression section is simple (no parameters are required as they are in other expressions which shall be explained later on).
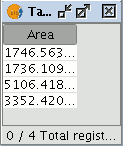
To sum up and conclude this example, once the “area” command has been selected, click on “Ok” and the field created in the table will automatically be filled with the area values of each of the polygons drawn.


