gvSIG-Desktop 1.12. User manual
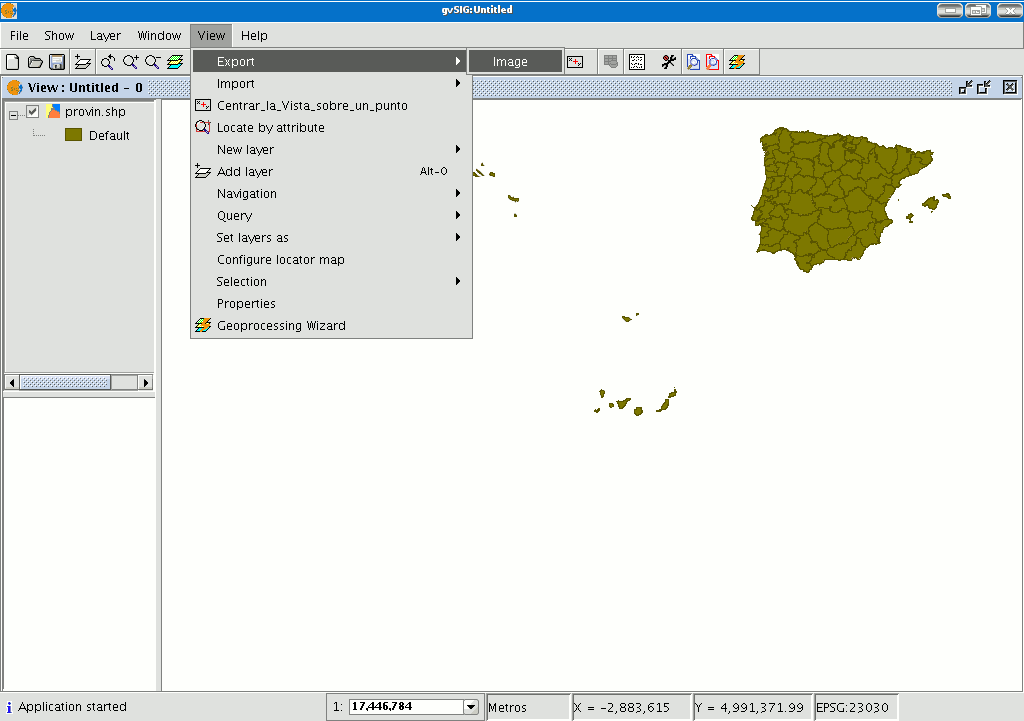
This option allows you to convert the active view into an image or raster file.
Select the “View” menu then go to “Export/Image”.
![exportar-a-imagen-y-wmc/exportar-a-imagen-y-wmc-en.img/exportarAimagenMenu_en.png](../../../../../../docusr/acceso-editores/funcionalidades/vistas/exportar-a-imagen-y-wmc/exportar-a-imagen-y-wmc/exportar-a-imagen-y-wmc-en.img/exportarAimagenMenu_en.png)
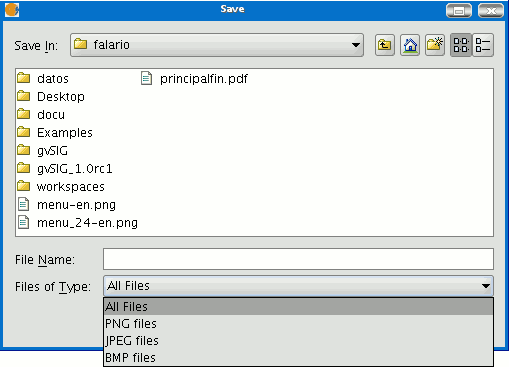
When you have selected the tool, a new window appears which you can use to edit the name of the image to be saved and the type of file (jpg, png...) you wish to save it in.
![exportar-a-imagen-y-wmc/exportar-a-imagen-y-wmc-en.img/imagenExportadaGruardar_en.png/](../../../../../../docusr/acceso-editores/funcionalidades/vistas/exportar-a-imagen-y-wmc/exportar-a-imagen-y-wmc/exportar-a-imagen-y-wmc-en.img/imagenExportadaGruardar_en.png/index.html)
When you have saved the image, you can recover it from gvSIG by going to the “Add layer” tool and searching for a “gvSIG Image Driver” file type.
![exportar-a-imagen-y-wmc/exportar-a-imagen-y-wmc-en.img/imagenExportadaToC_en.png](../../../../../../docusr/acceso-editores/funcionalidades/vistas/exportar-a-imagen-y-wmc/exportar-a-imagen-y-wmc/exportar-a-imagen-y-wmc-en.img/imagenExportadaToC_en.png)
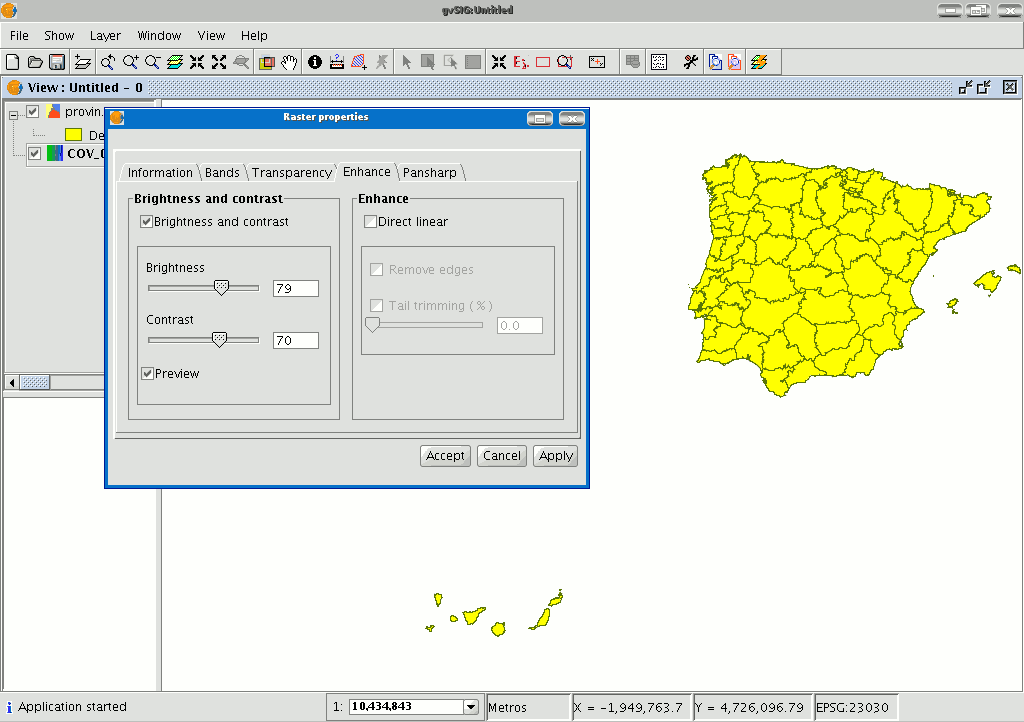
Use the ToC to check that the exported image is a raster layer by accessing its properties (right click on the layer in the ToC and then go to “Raster properties”).