gvSIG-Desktop 1.12. Manual de usuario
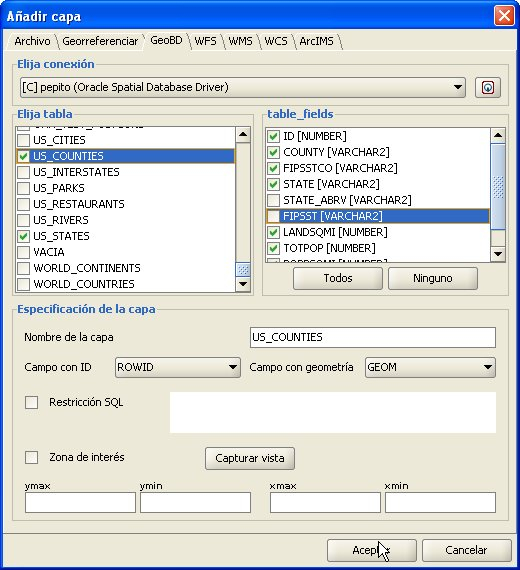
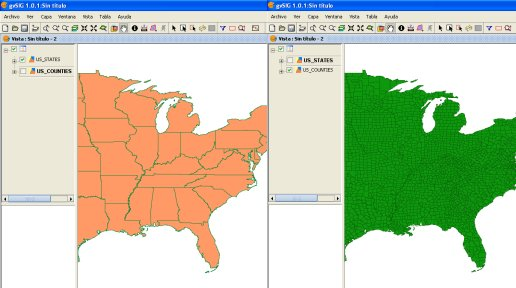
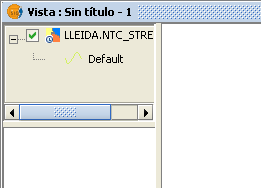
In the Project Manager, create a new view and open it using the New and Open buttons. Use the Add layer icon to add a layer to the view. Go to the GeoDB tab in the dialogue box to add a new layer of this type (figure 6). You must choose a connection (if you select one which is disconnected, you will then be asked to enter the password), select one or more tables and the attributes you wish to download from each layer and, optionally, set an alphanumeric restriction and an area of interest. You can give each layer a different name to that of the table. Click on Ok to view the table’s geometries in the view. This window also allows you to specify a new connection if the database is not registered in the data source catalogue. Any alphanumeric restriction must be introduced by means of a valid SQL expression which is attached as a WHERE clause to each call to the database. Given that the table may take several seconds to load, a small icon appears next to the name of the table indicating that this process is underway. When the table has been loaded, the small blue icon disappears and the gvSIG view is automatically refreshed to allow the geometries to be viewed.

Figure 6. Adding a geoDB layer

Figure 7. Views with geometries from a geographic database

Figure 8. Mini icon showing layers are loading


