gvSIG-Desktop 1.12. Manual de usuario
General properties
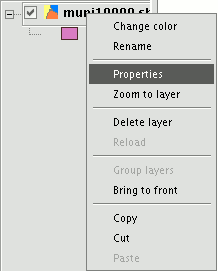
Right click on the selected layer in the ToC to access the properties window.

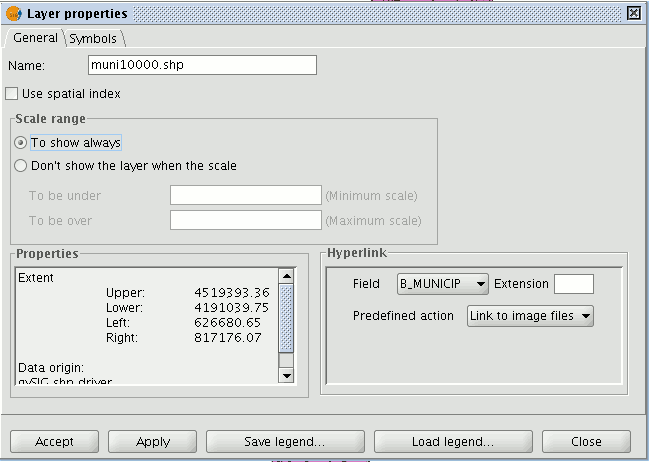
When you click on the “Properties” option, a new dialogue box opens. This can be used to edit some properties.

The layer name can be changed by writing the new name in the text field in the “General” tab.
If you wish to rename the selected layer, right click on the layer and go to the "Rename" option.
A new window appears:

Write the new name in the text field and click on “Ok”.
N.B.: When you do this, the layer name changes in the ToC, but the file name is not changed.
If you mark the “Use spatial index” check box, a spatial index will be created which makes the layer loaded in the view appear more quickly. This is because the view is loaded using this index.
If there are write permissions, a .qix file is created with the same name as the layer it is associated with in the layer’s original directory. If there are no write permissions, the file will be created in the user’s temporary file directory.

A viewing scale range (maximum and minimum) can be set in the properties window.
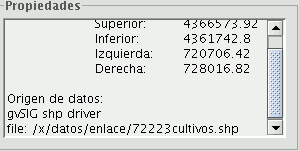
En el apartado propio de Propiedades de la capa puede encontrar la extensión de la capa y la ruta del archivo. Además, se ha añadido información sobre el tipo de capa (punto, línea, polígono, multigeometría, 2D o 3D).

Propiedades de la capa. Extensión del archivo y ruta de localización
En el caso de capas con origen en la base de datos, se mostrará el tipo de driver empleado, los parámetros de conexión, el nombre de la tabla y del esquema y la restricción sql si es que se está empleando una.

Propiedades de una capa de base de datos.


