gvSIG-Desktop 1.12. Manual de usuario
Procedures to input commands
Introduction
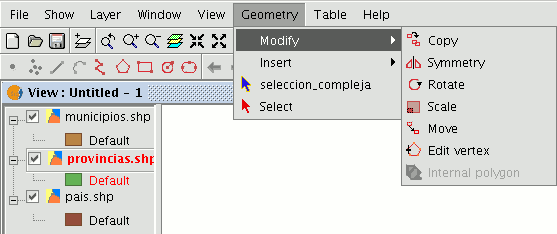
There are three general mechanisms for the application to run user commands. The first mechanism is to select the command by clicking on the corresponding button in the tool bar. The second option is to activate the tool by selecting it in the menu bar (normally in the “Geometry” tab) and the third and last mechanism is by inputting commands in the command console using the keyboard.
Tool bar
The edition tool bar appears when a layer is being edited. The tool bar icons will be activated according to the type of layer being edited.

Menu bar
When an editing session starts, a new menu called “Geometry” appears in the bar from which we can access the different tools.

Command console

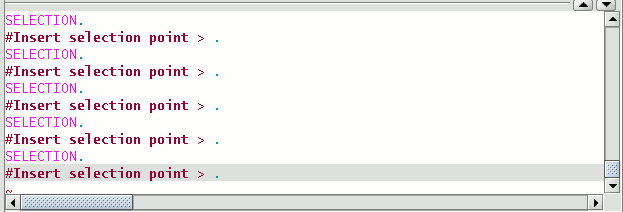
The commands, options, messages or parameter requests the programme runs are shown in the area called "Command console".
The bottom line of the command console is called the "line command" and shows the action the application is running. The command console area size can be increased or decreased. To modify its size, place the mouse pointer on the separation bar between the command console and the graphic area, left click on the mouse and move the bar up or down until it is situated in the required position.
When you have finished, let go of the mouse button. You can also hide the command console by clicking on the down-facing triangle situated at the top right of the console. To show the command console, click on the upward-facing triangle.
To input commands into the command console using the keyboard, write the name of the command or order and press “Enter”. Commands can be input in capital or small letters. When a command is input, a window or a set of options associated with this command appears.
For example, if the “rectangle” command is input, a window will appear in which the definition of a corner point is requested. When the point has been inserted, a second point or “C” is requested to indicate that the object will be a square.


